上一章我们看到rn for Adnroid的模版工程,基于ReactActivity,仅仅几十行代码就完成了一个简单的RN示例工程。上一章结束后也遗留了很多问题,今天先说一说rn中是如何调用客户端提供的接口的。又是如何使用客户端封装的View的呢?
如何调试rn代码
rn的调试可以通过chrome的插件React Developer Tools来做。
然后在dev环境下,点击
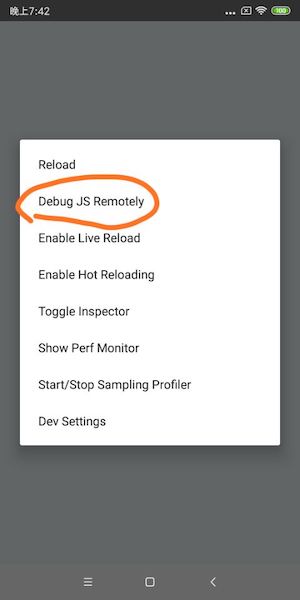
chrome会自动打开一个页面 http://localhost:8081/debugger-ui/ 在这个页面下,你可以进行rn代码的调试。例如
鼠标右键-菜单点击检查-打开控制台,点击Console,你就可以看到js里面输出的log信息了。

ReactPackage和NativeModule
ReactPackage
首先看下代码(省略了注释信息)
1 | public interface ReactPackage { |
ReactPackage提供了封装了两个方法, createNativeModules()返回的是NativeModule的列表,createViewManagers()返回的是ViewManager的列表。
NativeModule
NativeModule就是native模块提供给js接口的模块。来看一下NativeModule的代码(省略了注释信息),同样也是一个接口。
1 |
|
从注释中我们可以看到,rn提供了NativeModule的一些默认实现,例如抽象类BaseJavaModule和他的子抽象类ReactContextBaseJavaModule。我们只要继承其中某个module,就可以实现自己的方法。同时注释里也提到了C++方法的注册
{@link NativeModule}s whose implementation is written in C++
must not provide any Java code (so they can be reused on other platforms), and instead should
register themselves using {@link CxxModuleWrapper}.
ViewManager
1 |
|
ViewManager的代码比较长,我们可以看到,ViewManager本身也是BaseJavaModule的一个实现。具体用法我们下面结合例子来讲。
实现示例
封装native java方法
首先我们继承ReactContextBaseJavaModule
1 | public class CommonBridgeModule extends ReactContextBaseJavaModule { |
接着定义ReactPackage,把刚才的Module封装进去
1 | public class CommonReactPackage implements ReactPackage { |
接着,找到注册ReactPackage的地方,模版代码里是创建ReactNativeHost的地方
1 | private final ReactNativeHost mReactNativeHost = new ReactNativeHost(this) { |
最后我们在js里面调用一下试试
1 | import {NativeModules} from "react-native"; |
输出结果
android studio控制台输出:
/com.awesomeproject I/ReactNativeJS: 'demo', 0
/com.awesomeproject D/demo: hello react native
Chrome的React Developer Tools插件输出:
demo 0封装Android View
这里我们封装AppCompatButton提供给rn使用,首先是实现ViewManager
1 | public class AppCompactButtonViewManager extends SimpleViewManager<AppCompatButton> { |
封装进ReactPackage以及注册到rn当中的步骤和前面一样,这里就不多说了。
接着我们修改rn这边代码:
这里我们用到了一个node包 create-react-class 需要执行npm install,然后重新npm start。
规范一点写,我们新建一个AppCompatButtonControl.js文件,然后将AppCompatButton封装成AppCompatButtonControl
1 | ; |
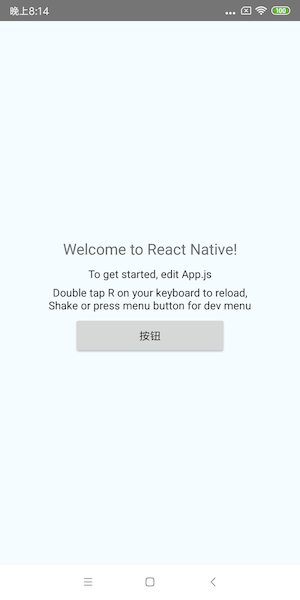
最后,在布局中,直接使用
1 | render() { |
最终效果如下图所示:
本节小结
本节简单介绍了利用Chrome插件调试rn代码的方式,并通过ReactPackage和NativeModule,介绍了如何给rn提供安卓接口以及安卓封装的View,算是比较基础入门的知识。下一篇我们讲一讲如何基于ReactRootView封装RN Fragment